Living in a world filled with camera phones, most of us have figured out that angles can make a huge difference in how we look. Selfies, group shots, landscape pics—they all need to be framed appropriately to best capture the mood and moment.Â
As we navigate a new remote business environment, it’s important to keep in mind that this principle also applies to on-camera interactions in the professional world. Just as you would take time to get the best shot for a photograph, you need to make sure that your visual set-up in your online workspace reflects your professionalism out to your audience.
There are a few simple things to keep in mind while setting up your camera frame for remote streaming. First, and most important is to leave enough time before your meeting/presentation to check your background, angles, and framing. If you are rushing, you may open your Zoom preview window to find that the light from your window has shifted, leaving you with odd shadows flickering across your face. Test your set-up at least 10 minutes before you have to sign on—that will give you time to fix any lighting or framing problems you find.
Once you have approved of your lighting and verified that your workspace is neat, you can move on to your own appearance on camera. At this stage, the most critical aspect is to make sure that the camera is at your eye level. Not “near†your eye level, but at eye level. This is extremely important, regardless of whether you are sitting or standing. Without an eye-level camera position, you risk having your viewers staring at your chin instead of your face or getting dizzy from watching your ceiling fan spin around.
Eye-level framing helps your audience see you in a way that mimics you sitting across the table from them. This is the goal because it makes it easier for them to look at your face, which helps them connect with you and engage with your ideas.
To get the camera at the right level, you can place your laptop on boxes, books, or whatever you can find that is flat and level. If you are using a tablet or phone, you can use a tripod to achieve the desired height. For a laptop computer, you may find that an adjustable platform is the sturdiest, safest tool with which to reach eye level.
As someone who generally prefers to stand during consultations, I purchased an end table to place on top of my desk. When I place my laptop on top, it perfectly meets my standing height of five foot two inches. There are many ways to accomplish the goal of eye-level framing—it all comes down to figuring out how you intend to use your space and how much you want to spend.
Once you have the camera at eye level, you should check your angles in the viewfinder. By simply tilting your laptop screen or device forward, you can adjust the tilt to eliminate the ceiling and reduce your headroom. Remember, you want your image to fill the frame so that you project confidence and competence.
For on-camera framing, there are several different shots you may use, depending on your professional situation.Â
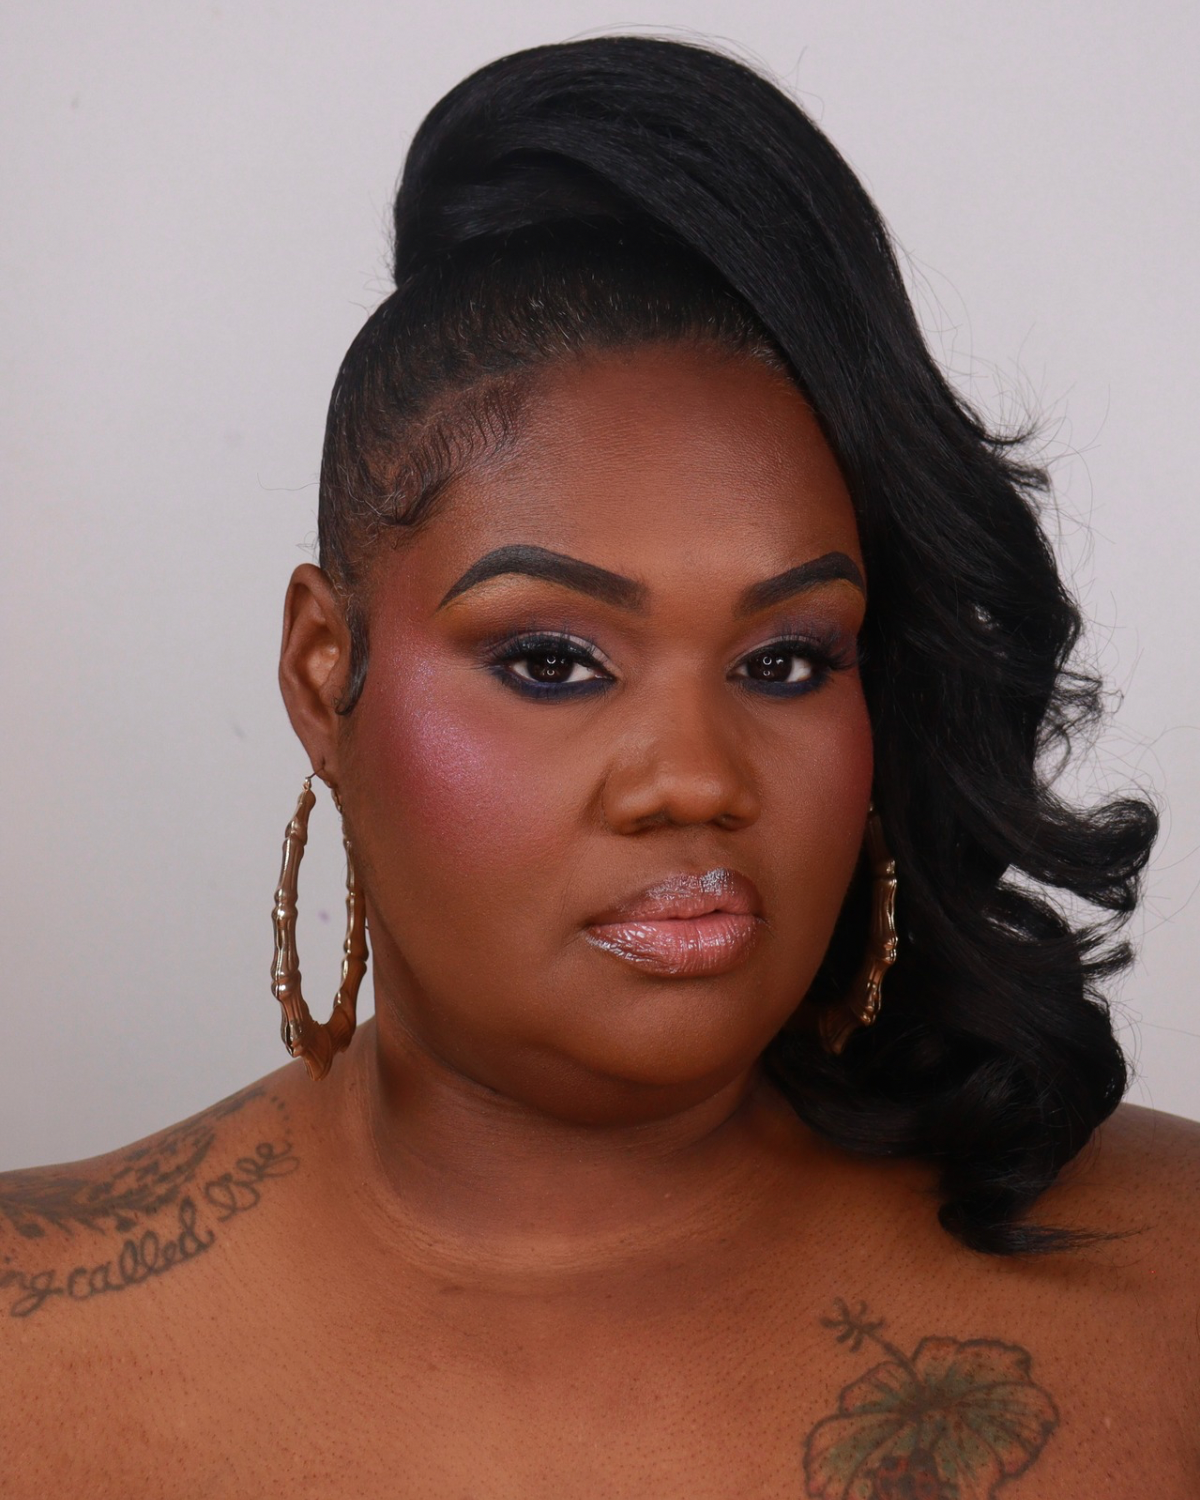
In most work meetings, you should be framed in a chest-up shot. This shot starts about four inches below the armpit and guarantees that the middle of your chest is at the bottom of the frame. Do not frame yourself any closer to the camera—anything closer will make the viewers feel like you are invading their personal space. The top of your head should be barely below the top of the frame.
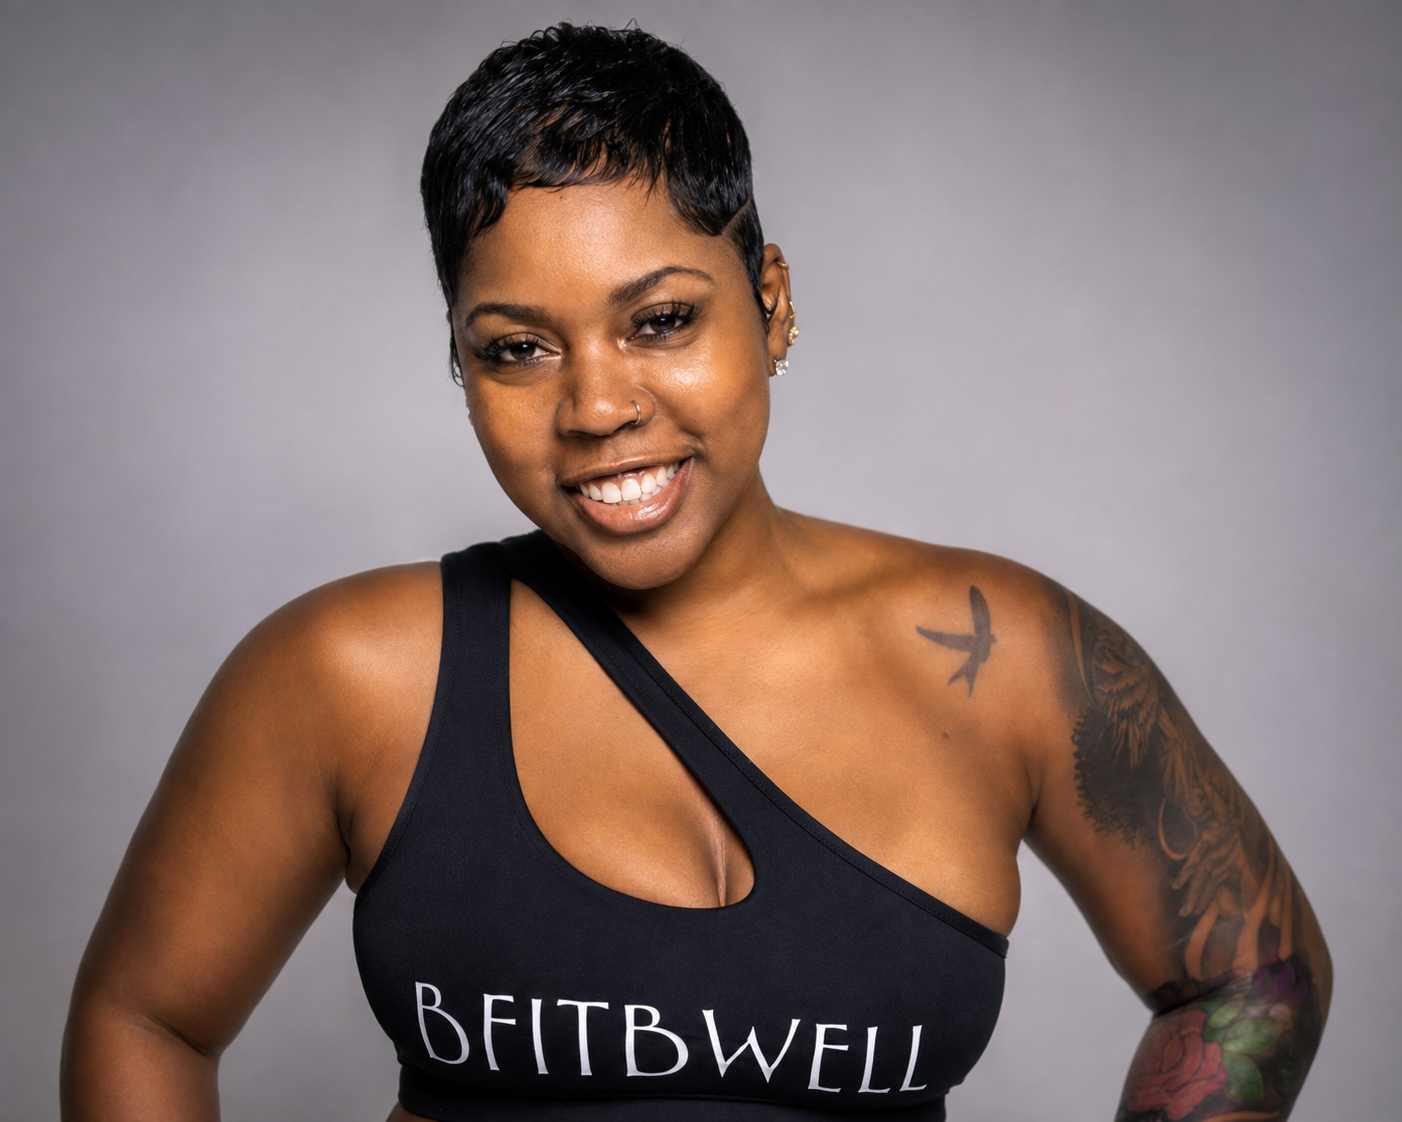
If you are doing a presentation where you are going to be standing, you need to set up the camera, so it frames you from the waist up. It is not necessary to stand while presenting, but many people prefer it because it allows them to widen out to a waist-up shot. This gives them additional space to use body language—for example, moving their hands—which can create a more dynamic presentation.
However, if your hands are going to be seen by the viewer, they should be seen the whole time you are on camera and not just pop up into the frame every now and then. This is a key benefit of the waist-up shot. But even with the extra room, don’t forget: you must adjust the camera to eliminate any extraneous headroom.Â
To return to the chest-shot, this set-up does not prevent you from using your hands while presenting. You can use your hands to add energy to your presentation, but be sure to keep them low (generally, around your waist). This will keep your hands from popping into the frame, surprising your audience, and distracting from your brilliant presentation.
Finally, remember that if you intend to hold something up in the frame—for example, a product that you are discussing—you should always frame yourself from the waist up. You don’t want the object you are showing to block your face, particularly while you are speaking.
While the idea of camera framing and angles can sound over-complicated for a simple Zoom meeting, you should keep in mind that technology can be a great help or a hindrance in the new frontier of remote work. You may feel self-conscious while speaking on camera—but the right lighting and angles can show you off to your best advantage.Â
Make no mistake, in every online meeting, optics matter. How well you present yourself with your appearance, body language, posture, and confidence has a major impact on co-workers and clients alike. Fine-tuning your camera angle is a chance to make an excellent impression on your audience—and then you can carry that impression to the professional finish line.
 Kim Foley is an award-winning TV producer, corporate media trainer, and author. She has worked with high-profile clients including Presidents Barack Obama, George Bush, Bill Clinton, and late-night hosts Jay Leno and Stephen Colbert. She has worked for Meet the Press and 60 Minutes as well as ABC, NBC, CBS, HBO, MTV, BBC, Lifetime, and The Discovery Channel. Her clients include ExxonMobile, Nestlé, KPMG, FBI, CIA, IRS, NIH and FDA. Her book, “Virtual Meetings With Power And Presence: The Ultimate Guide To Online Meetings†is available on Amazon.